I am baking again for Mangia Monday (or Tuesday 

Growing up, baking cookies at Christmas was something that always happened in our house. My Mom planned her cookie menu for weeks, and most years we made a dozen different kinds or more! We gave them away as gifts, ate a ton, and even froze them to enjoy until Valentine’s Day.
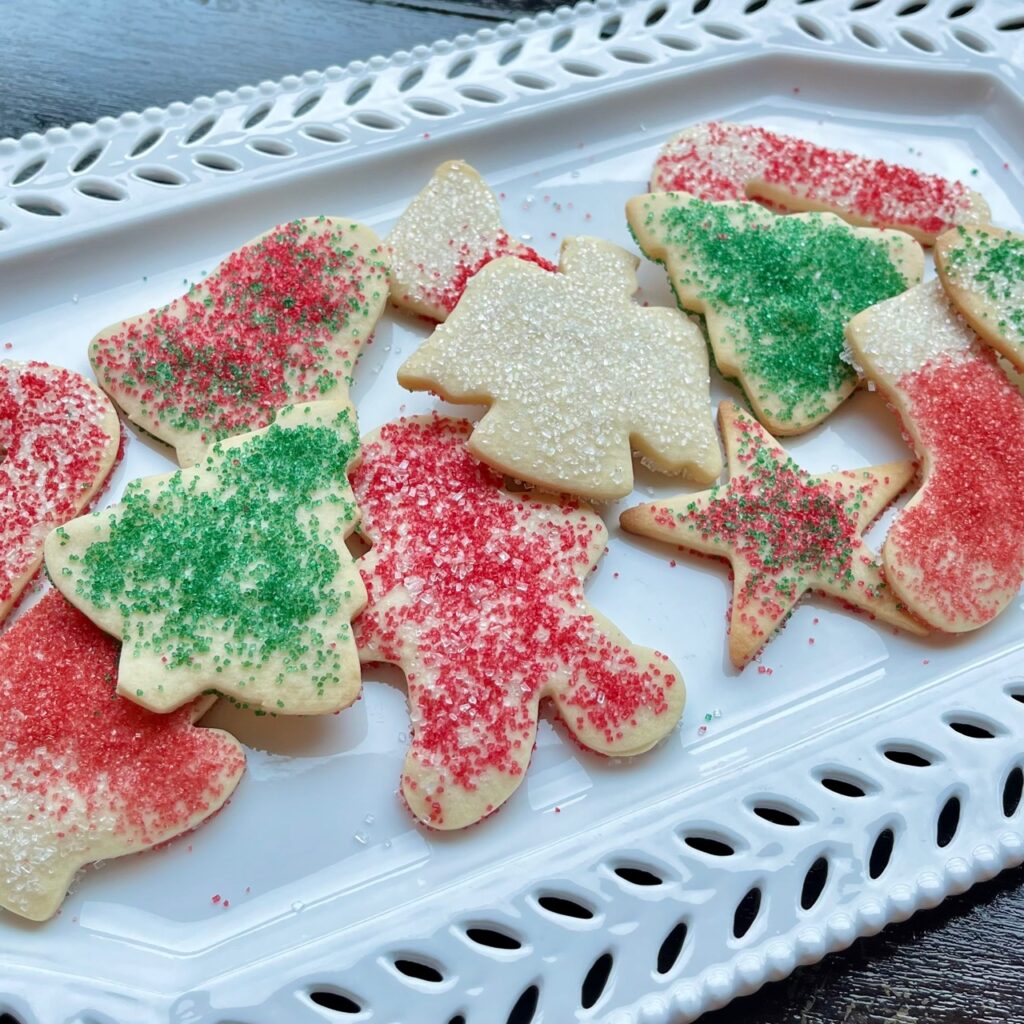
My own holiday cookie menu tends to be only two or three kinds, but these cookies are always one of them. Honestly, I make these at almost every holiday. When I have extra time, I make an easy icing, but they are honestly also delicious with colored sugar as well. (The cookies below are from 2018.)

The trickiest thing with these cookies is making sure you plan ahead enough to take out the butter and egg ahead of time! I also leave the milk out for 30 minutes or so as well. Most of the time, I make the dough a day or two before I am going to roll it, but a trick I learned this week is to roll the dough immediately and then chill it. Rolled dough chills a lot faster! (This works for pies, too!)
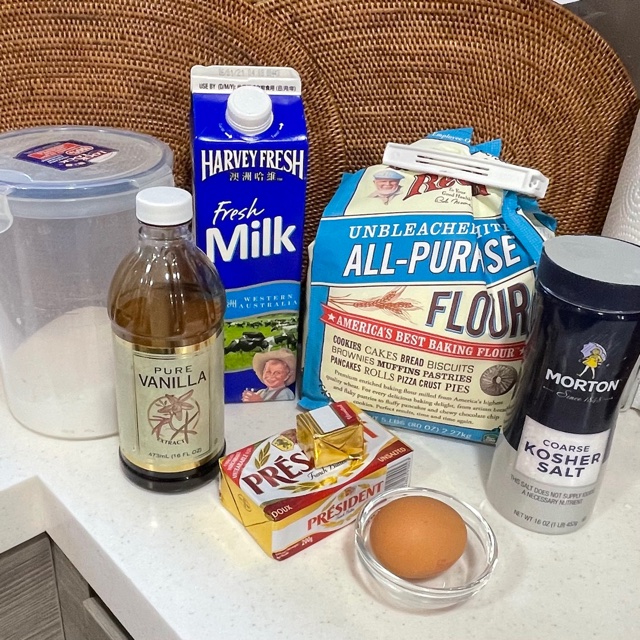
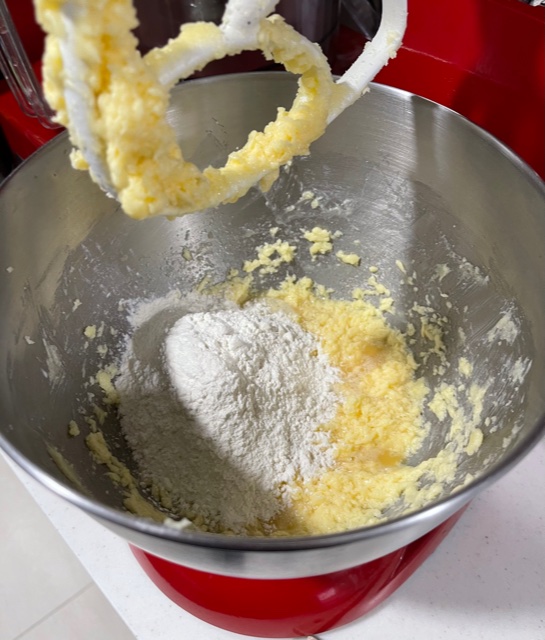
Cream the butter and sugar with an electric mixer on high speed until fluffy and lighter in color.
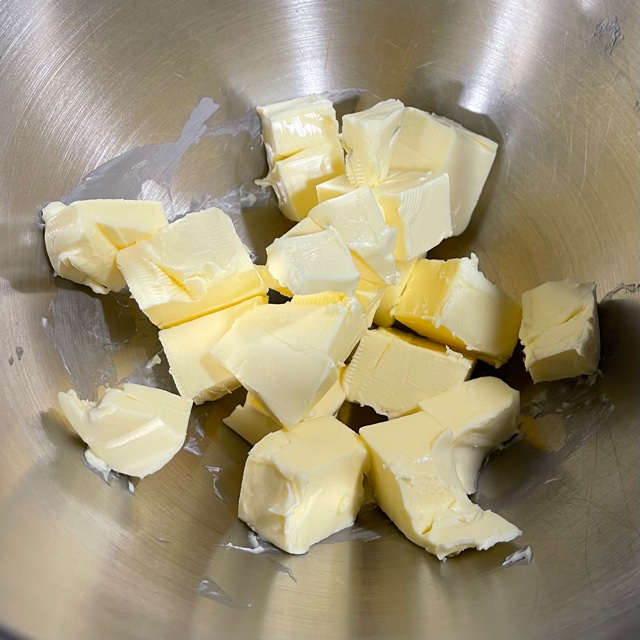
Cutting the butter in small pieces makes it soften faster! 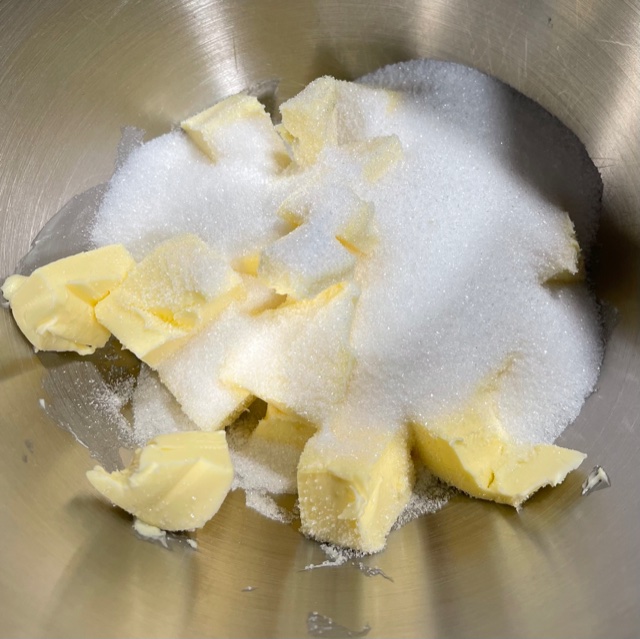

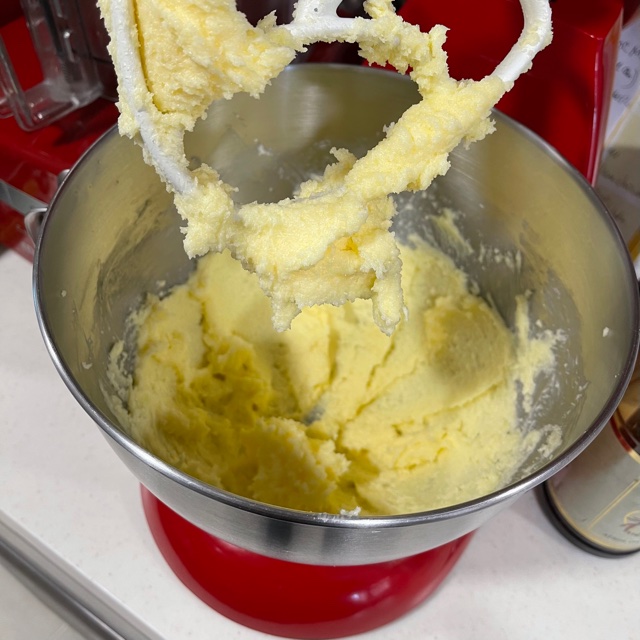
Fluffy and lighter in color
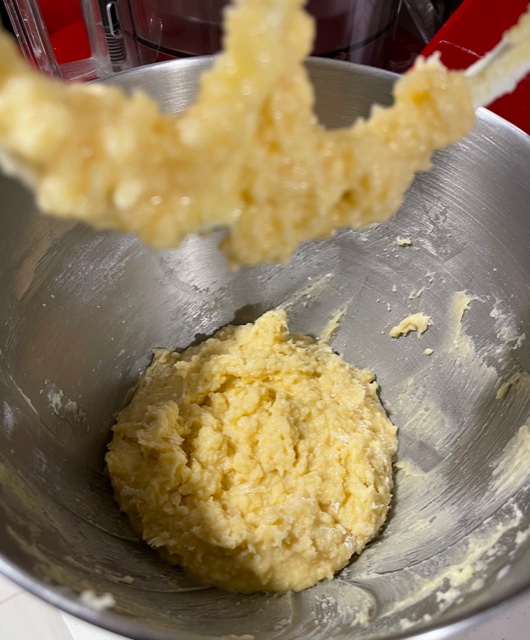
Stop mixer and add the egg, milk and vanilla. Mix at medium speed until combined well. (Don’t be alarmed if it looks like it is curdling. It will recover when you incorporate the flour.)


It looks like it has curdled but don’t panic!
It will be fine after adding the flour.
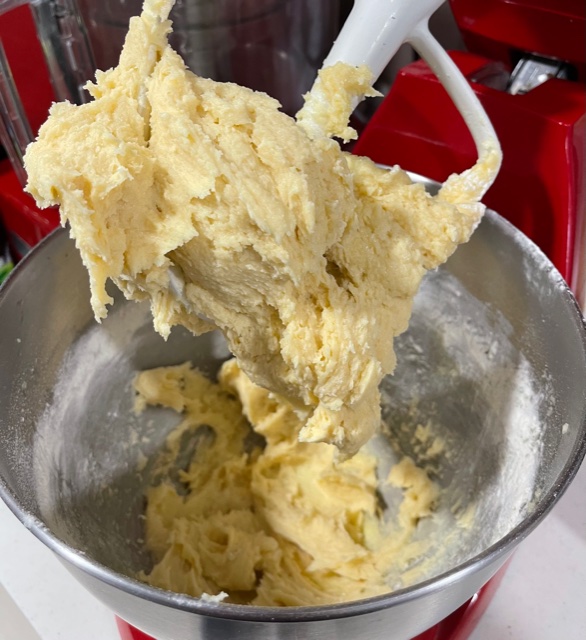
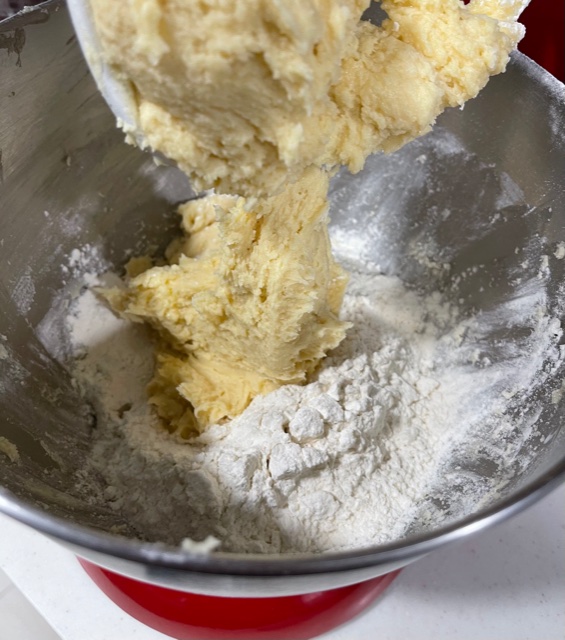
Gradually add the flour in batches (2-3) on low speed and mix just until combined.
Divide dough into 3 portions. You can wrap each portion in plastic wrap, flattening it slightly and refrigerate until ready for use, at least one hour. (NOTE: If you want to make the cookies immediately, you can roll out the dough immediately and place it on a cookie sheet in the refrigerator to chill. Preheat the oven while you are waiting. It will take about 15-30 minutes for it to be hard enough to use the cookie cutters.)
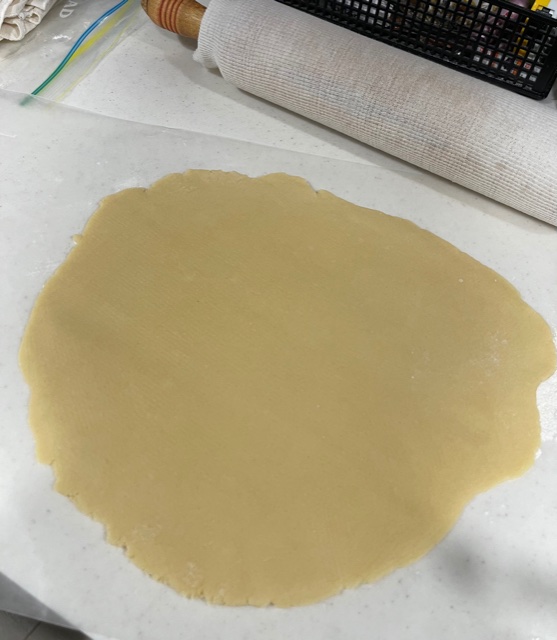
Roll out dough on waxed paper
or silicone mat.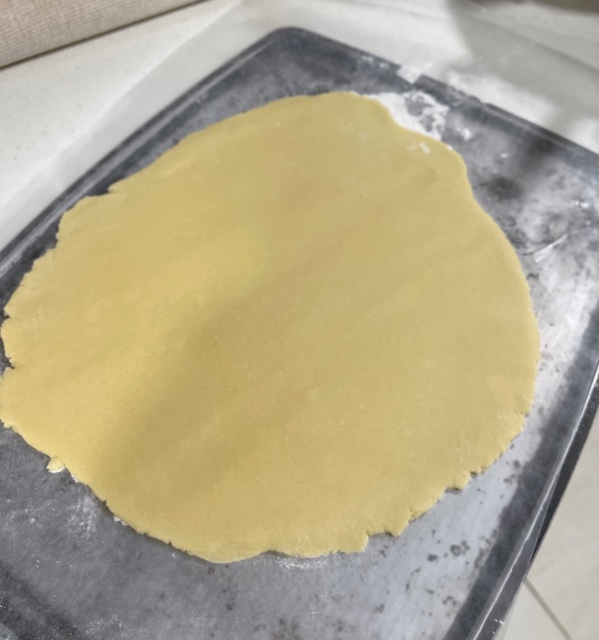
Put on a cookie sheet and refrigerate to chill (at least 15-20 minutes.) 
If you are not making the dough right away, divide into 2-3 portions. 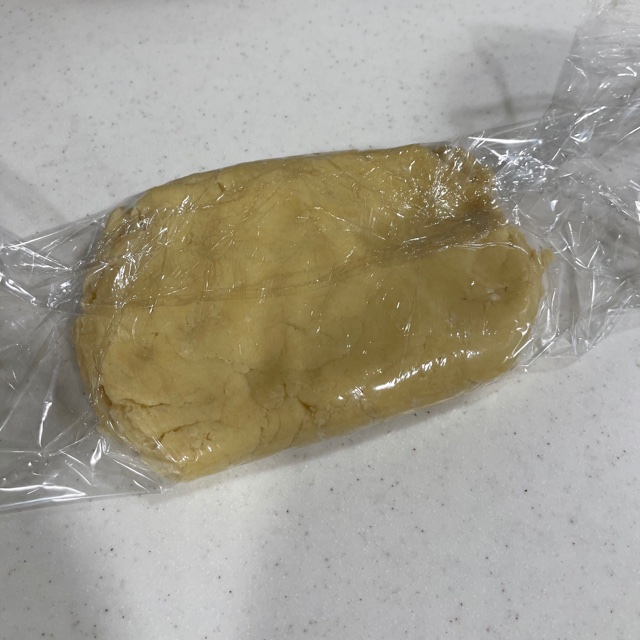
Wrap 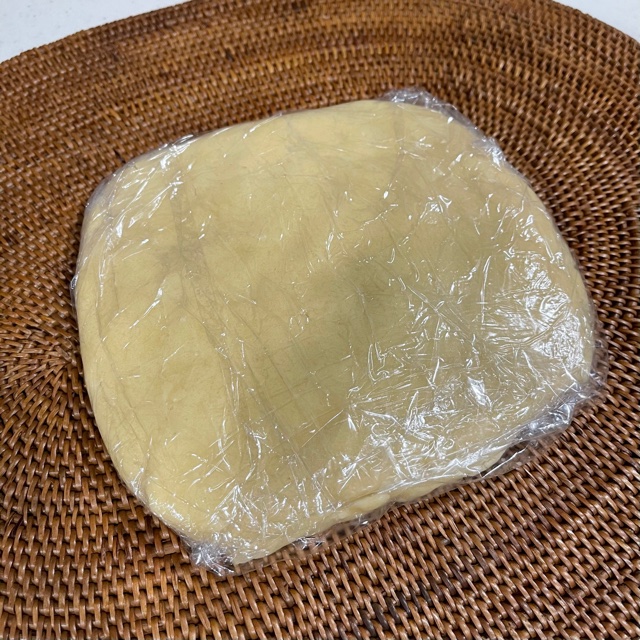
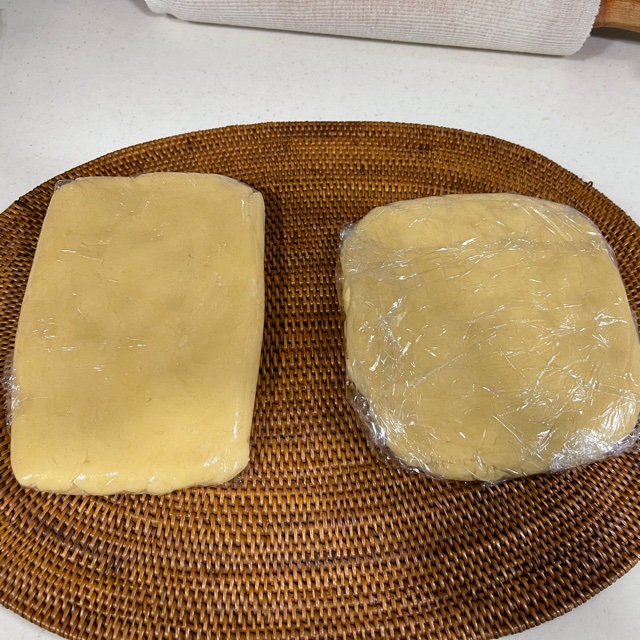
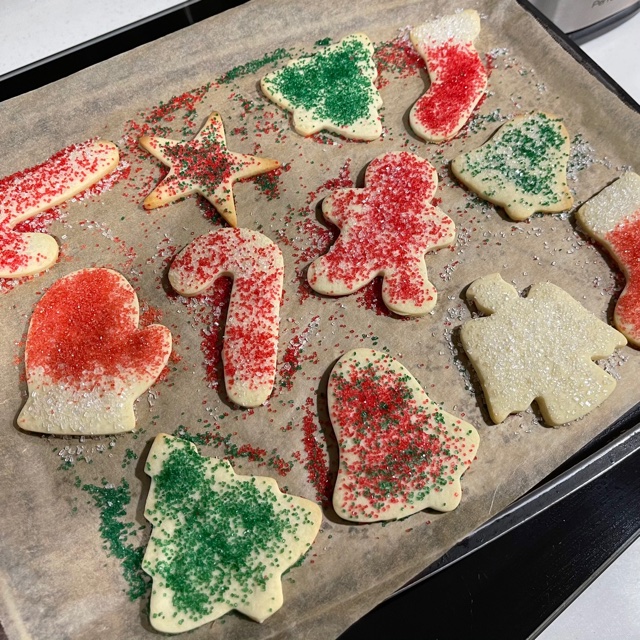
Preheat oven to 350°F (180°C). Remove one of dough disks from the refrigerator. Place on a lightly floured surface and use a rolling pin to roll to desired thickness. If the dough is very cold, you can let is warm up a tiny bit. (I do ⅛ inch but thicker is okay. The cookies will take longer the thicker they are.) Use cookie cutters to cut out the dough shapes. Try to fit them like a puzzle to minimize dough wastage. (You can re-roll the dough, but the cookies will be a bit more tough.) Place cookies on a cookie sheet lined with parchment paper and add sprinkles if desired.


We like a lot of sprinkles!
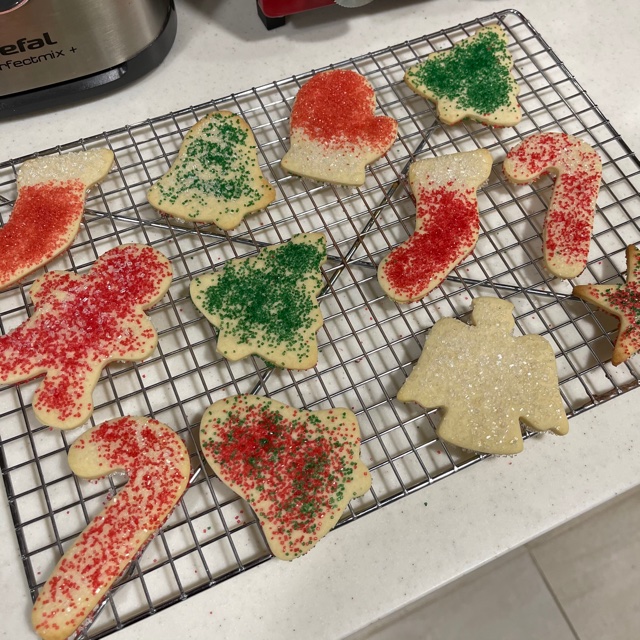
Bake for 7-10 minutes or until cookies are set and starting to brown a bit on the bottoms and edges. Cool for 5 minutes on the cookie sheet and then transfer to a wire rack (affiliate link) to cool completed. (Plain cookies can be iced when they are completely cool.)
To make the icing, combine powdered sugar, 2 T milk and 1/2 tsp vanilla extract. Stir with a whisk to combine. You may need to add extra milk, but only do about 1/2 tsp at a time. When the consistency is correct, split into as many bowls as you want colors and add food coloring as desired. I usually use gel food coloring. If you are using liquid drops, don’t add as much milk right away. If your icing gets too runny, you can always add more powdered sugar to thicken it up again. (Gel Food Coloring – affiliate link)
Decorating cookies takes a bit of practice, but I find a few things make it easier:
- Use pastry bags (I use disposable ones), couplers and and pastry tips. It is easiest to fill the bags in a tall glass. Using small bag clips helps to keep them closed. These are the ones that I use: Wilton Disposable Pastry Bags, Wilton Coupler, 4-Pack Wilton Couplers, Wilton Pastry Tip 3, Wilton Pastry Tip 5 (affiliate links and see images below)
- Pipe a thin outline around the cookie first and then fill it in. If you are doing two colors on the same cookie, let the base color harden a bit first.
- I usually have a decorating plan for each cookie shape first. I love to look online for ideas!
- Have fun and Merry Christmas!
The following are affiliate links, which means I may earn a small commission if you chose to purchase them:
Holiday Roll Out Cookies
Ingredients
- 2 sticks unsalted butter (8 oz or 220 grams) softened
- 1 cup white sugar
- 1 large egg at room temperature
- ¼ cup whole milk at room temperature
- 1 ½ tsp vanilla extract
- 4 cups all purpose flour (1 lb + 2 oz or 510 g)
- ¼ tsp salt
Quick Icing
- 2 cups powdered (icing) sugar
- 2 T whole milk
- ½ tsp vanilla extract
Instructions
- Cream the butter and sugar with an electric mixer on high speed until fluffy and lighter in color. Stop mixer and add the egg, milk and vanilla. Mix at medium speed until combined well. (Don't be alarmed if it looks like it is curdling. It will recover when you incorporate the flour.)
- Weigh or measure the flour and place in a medium bowl. Add the salt and combine with a whisk.
- Gradually add the flour to the butter mixture in 2-3 batches on low speed and mix just until combined.
- Divide dough into 3 portions. You can wrap each portion in plastic wrap, flattening it slightly and refrigerate until ready for use, at least one hour. (NOTE: If you want to make the cookies immediately, you can roll out the dough right away and place it on a cookie sheet in the refrigerator to chill. Preheat the oven while you are waiting. It will take about 15-30 minutes for it to be hard enough to use the cookie cutters.)
- Preheat oven to 350°F (180°C). Remove one of dough disks from the refrigerator. Place on a lightly floured surface and use a rolling pin to roll to desired thickness. If the dough is very cold, you can let it warm up a tiny bit. (I do ⅛ inch but thicker is okay. The cookies will take longer the thicker they are.)
- Use cookie cutters to cut out the dough shapes. Try to fit them like a puzzle to minimize dough wastage. (You can re-roll the dough, but those cookies will be a bit more tough.) Place cookies on a cookie sheet lined with parchment paper and add sprinkles if desired.
- Bake for 7-10 minutes or until cookies are set and starting to brown a bit on the bottoms and edges. Cool for 5 minutes on the cookie sheet and then transfer to a wire rack to cool completely. (Plain cookies can then be iced.
Quick Icing
- To make the icing, combine powdered sugar, 2 T milk and 1/2 tsp vanilla extract in a bowl. Stir with a whisk to combine. You may need to add extra milk, but only do about 1/2 tsp at a time. When the consistency is correct, split into as many bowls as you want colors and add food coloring as desired. I usually use gel food coloring. If you are using liquid drops, don't add as much milk right away. If your icing gets too runny, you can always add more powdered sugar to thicken it up again. I often make a double batch of icing when I want a lot of colors. Note: This icing will not get fully hard for about 24 hours so store the cookies in a single layer until they are fully dry.

